No Products in the Cart
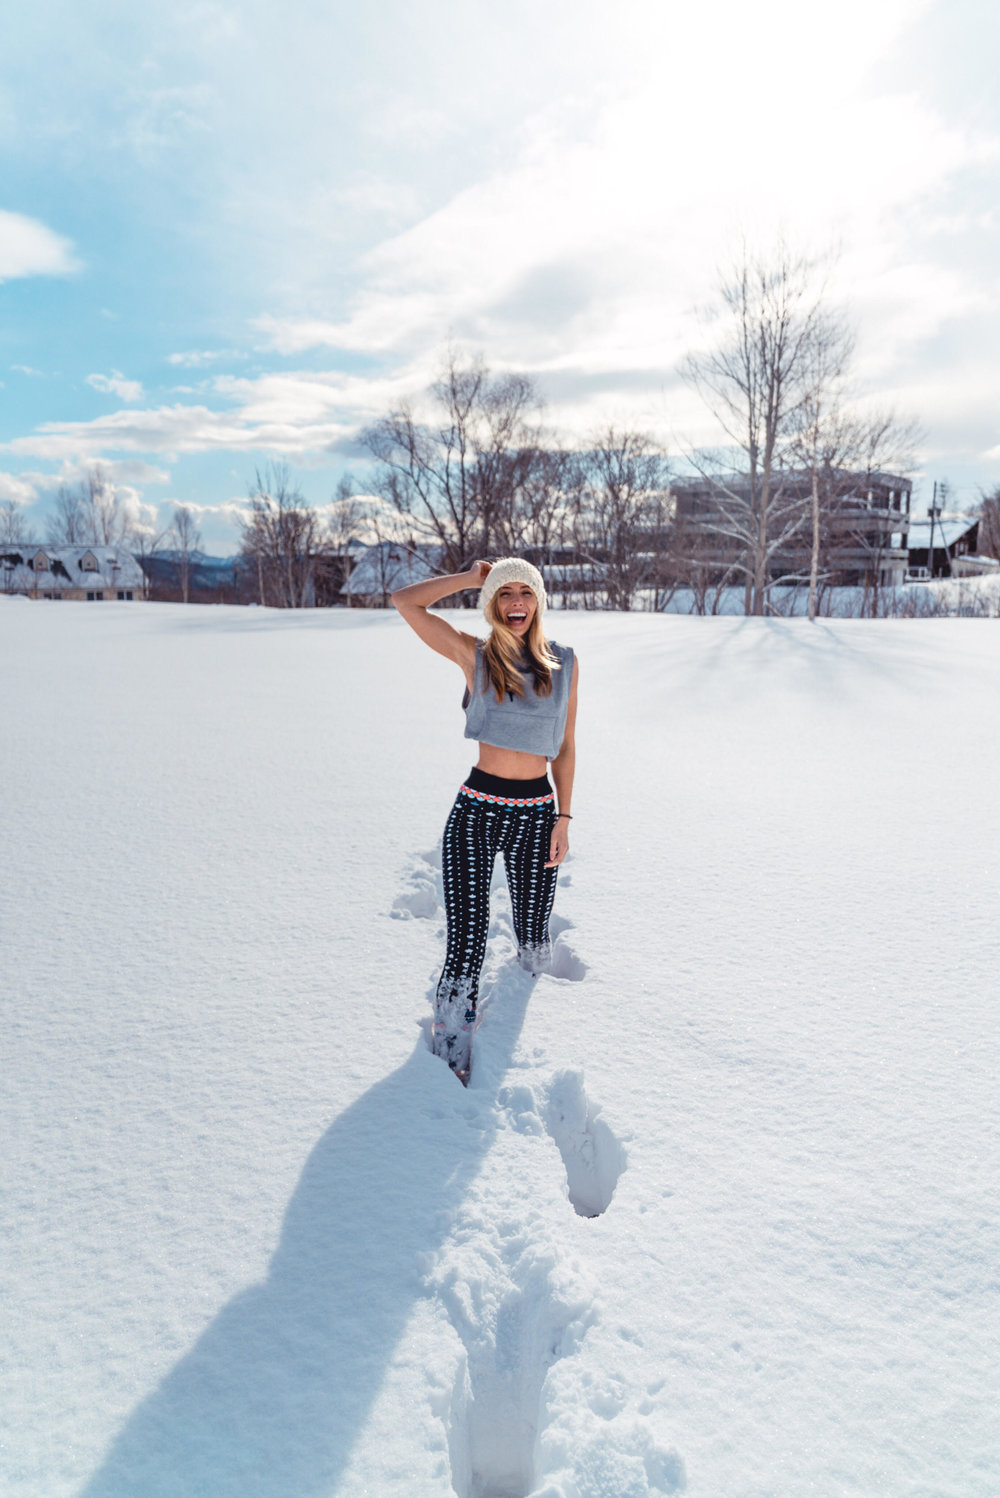
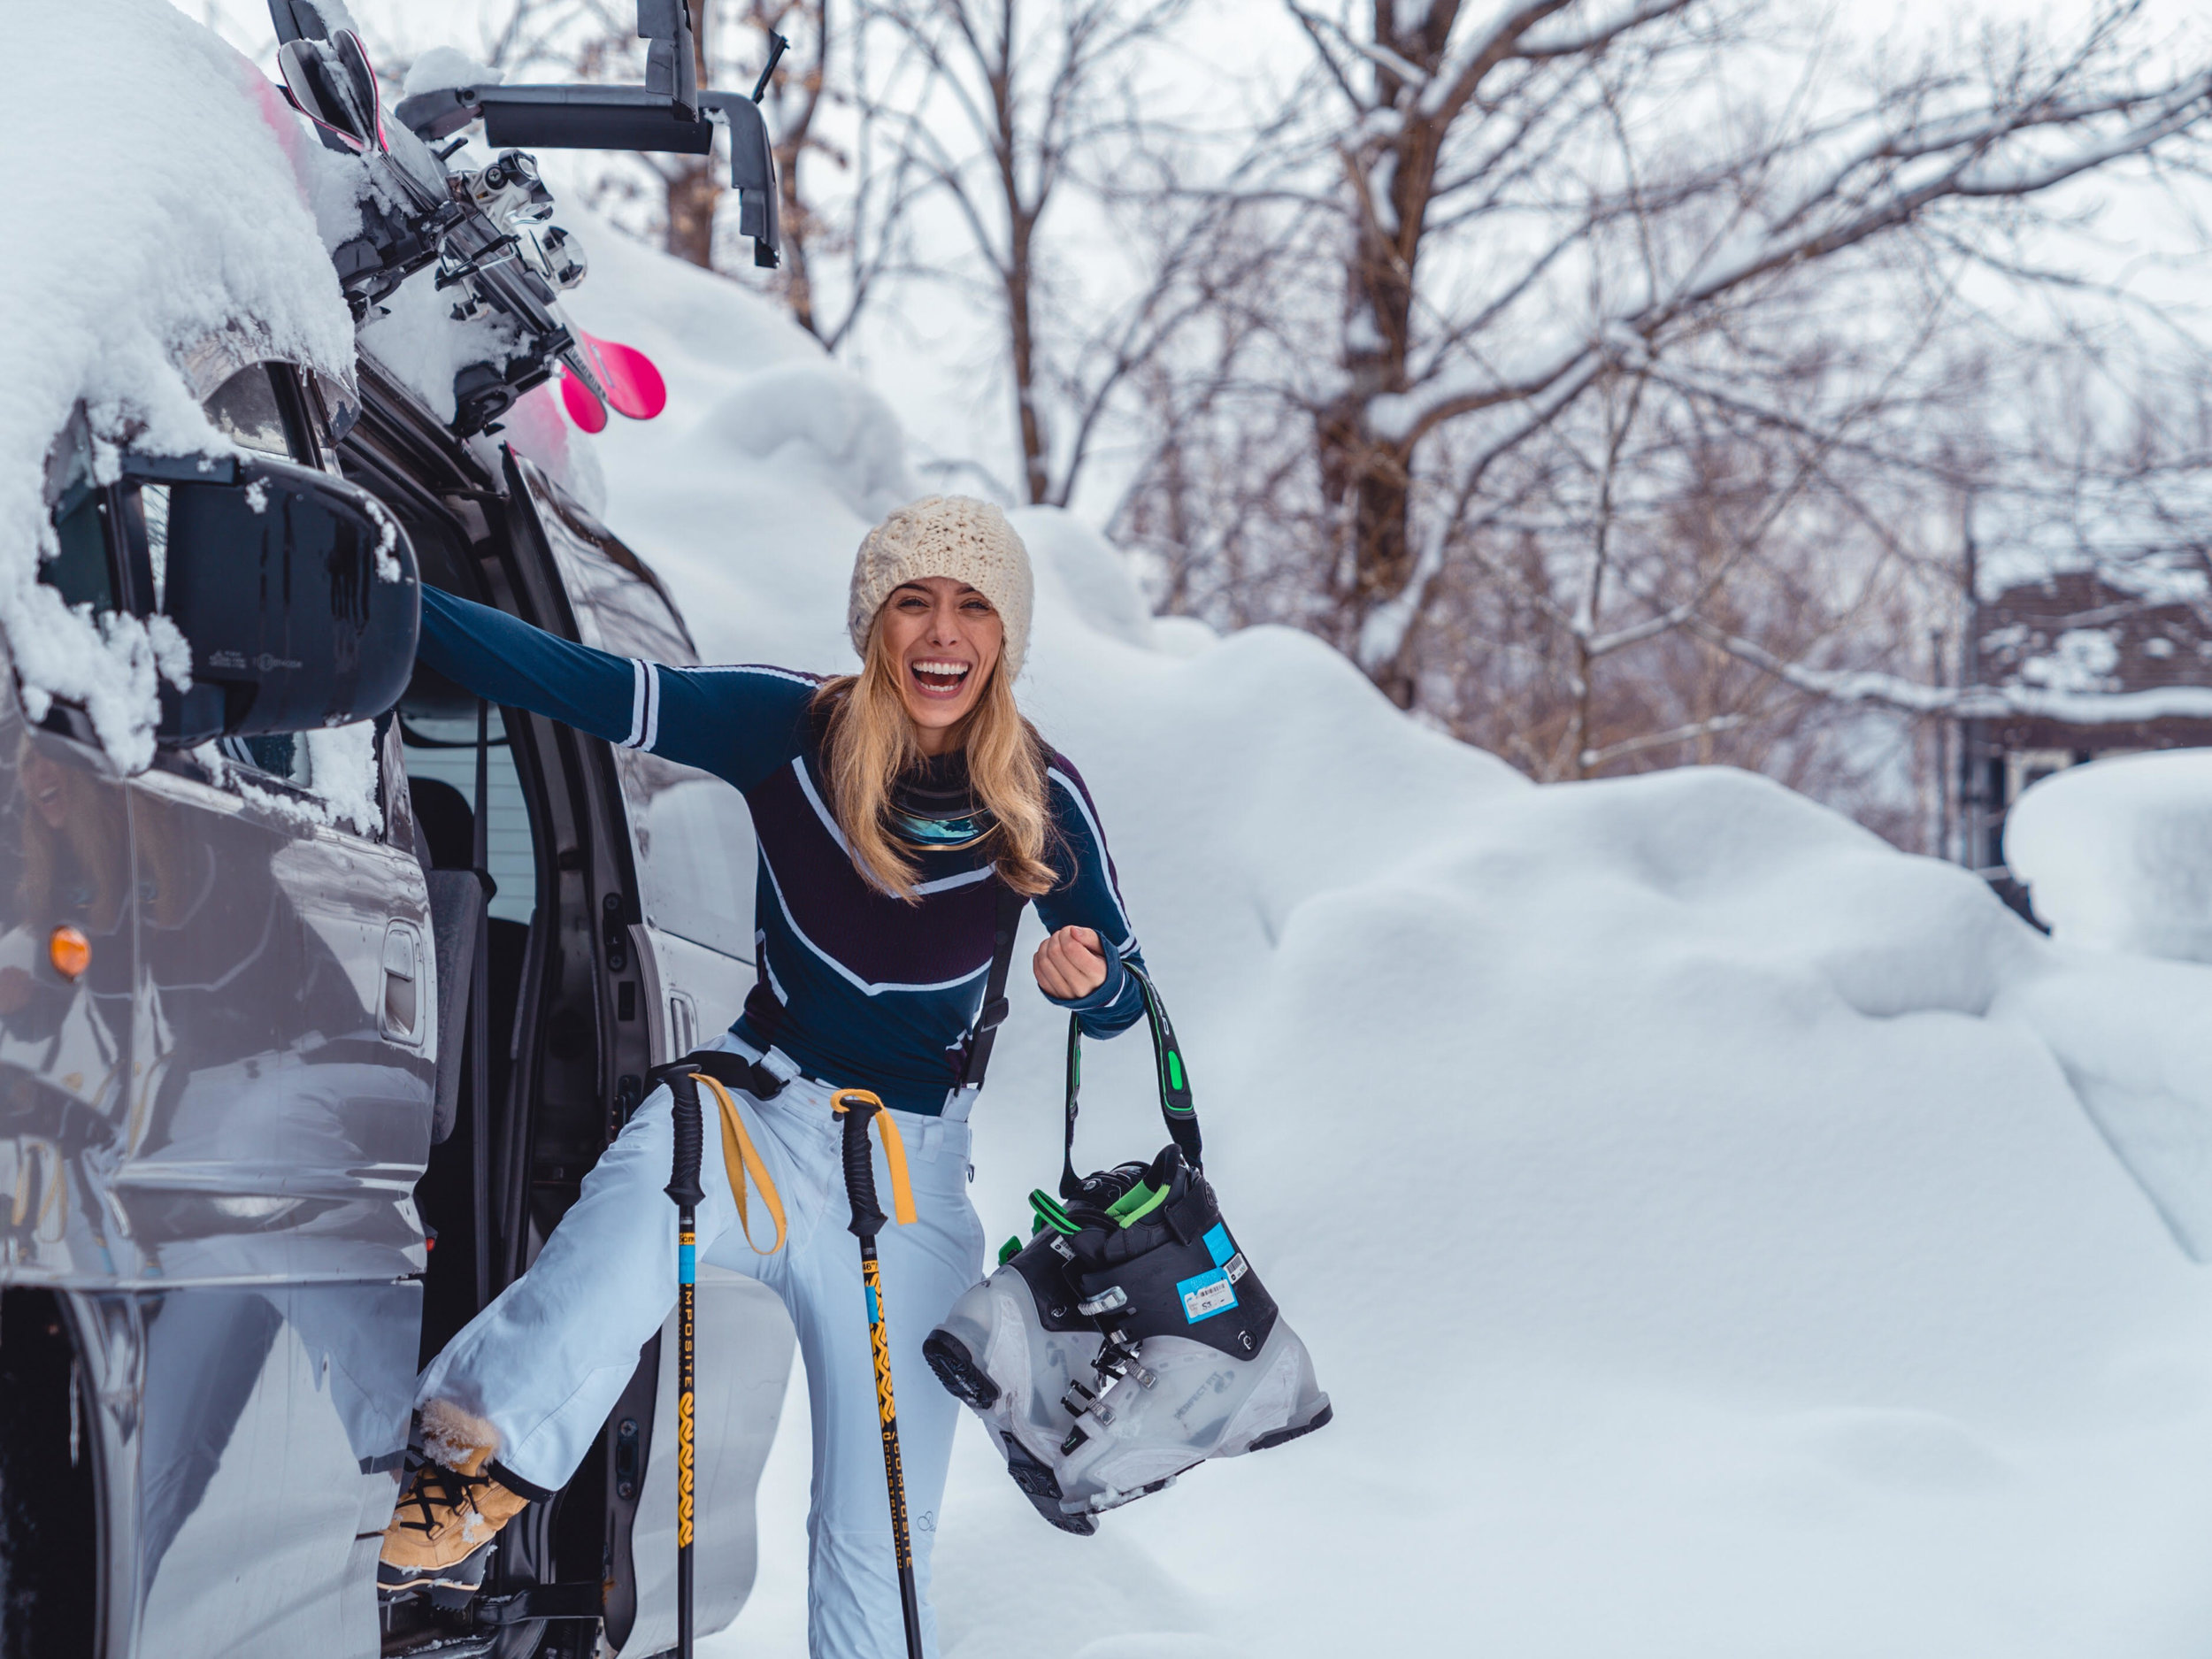
As many of you will have seen on my Instagram and YouTube channel- I have just been on my first ever Ski Holiday and it’s safe to say I have been converted to a full on proud snow bunny! What an INCREDIBLE trip that was.
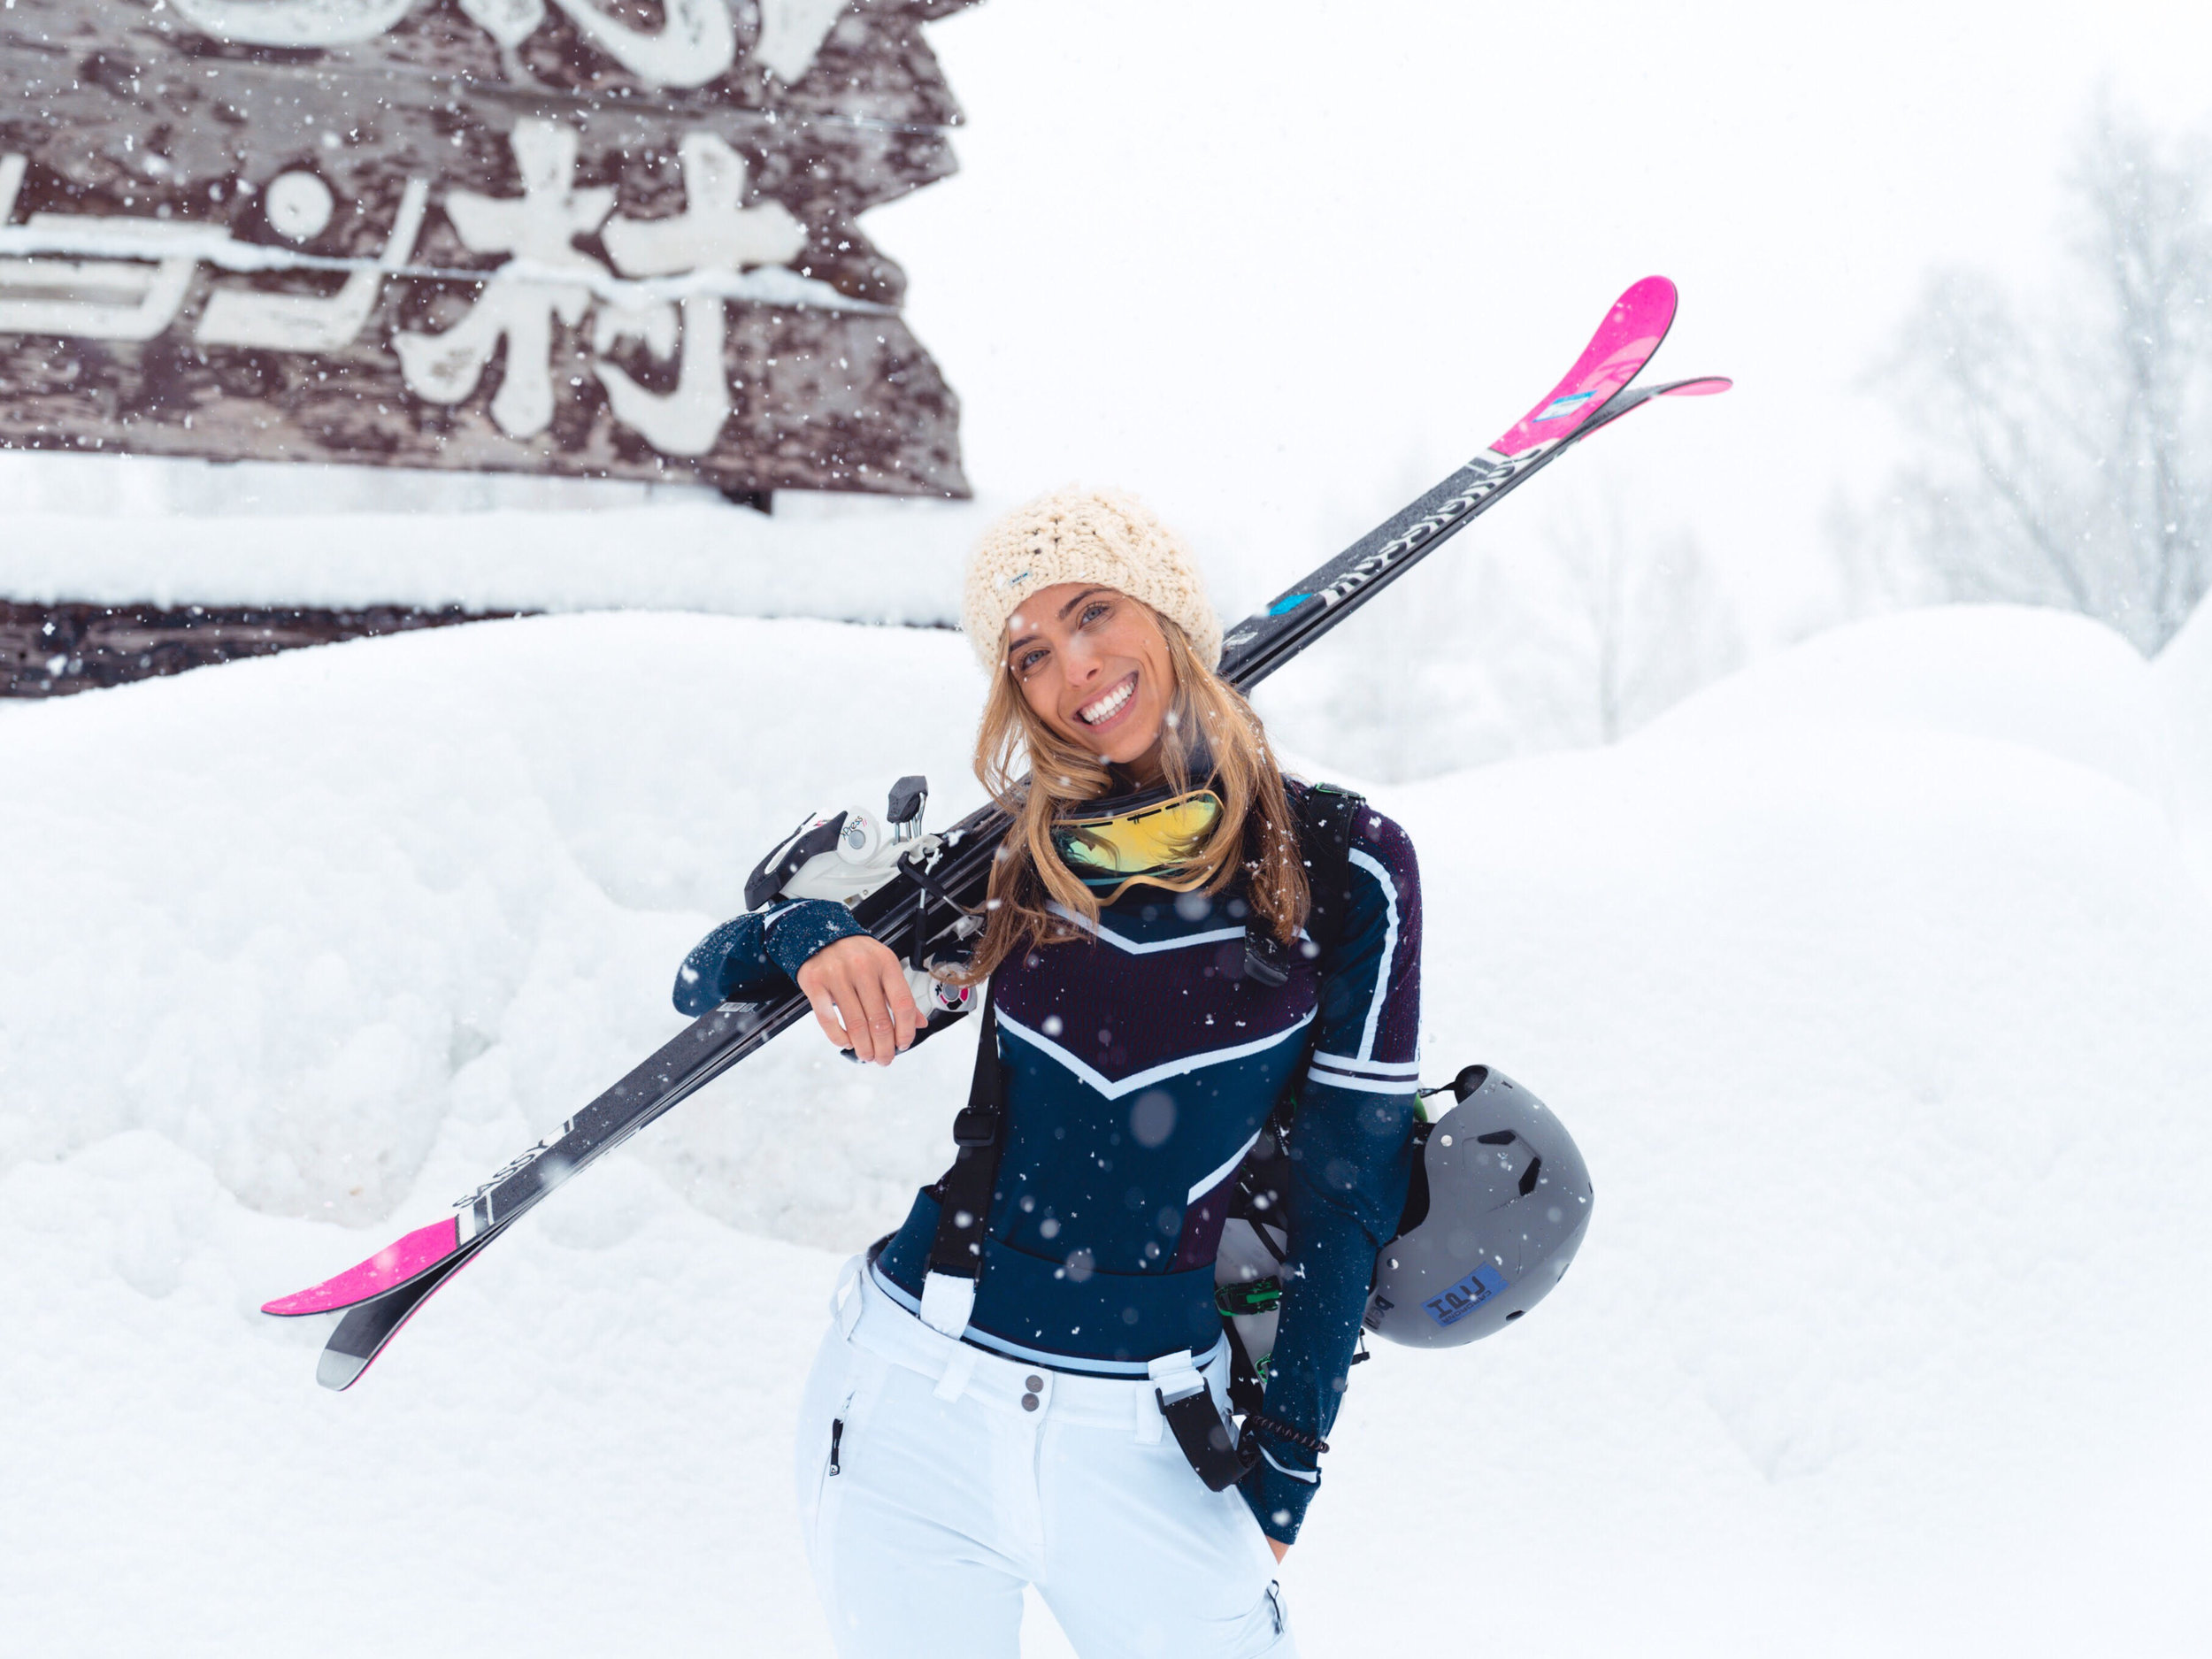
I have wanted to learn to ski since I was 11 years old but never got the opportunity as our family holidays always involved visiting the sunshine (which was obviously equally as incredible- I’m not complaining trust me!) Since then a few opportunities have come up for me to visit the slopes in Europe with friends, but I have always turned it down as I felt too embarrassed to go away with a group of experienced skiers, mainly out of fear of being isolated from the group. I know to a lot of you that may sound immature or silly, as we all have to learn and start somewhere, but as a woman in my late 20s, who is used to being a high achiever, particularly in the sporting field, it felt like a bit of a hit to my ego, to be one of the only people out of my friendship group who didn’t know how to ski! With that said, the opportunity came up for me to learn to ski in Niseko, Japan, the worlds home of powder skiing, onsen hot spring baths and delicious Japanese ramen, and naturally I couldn’t refuse! For this trip, I was determined to prepare my body in every way possible to firstly stay injury free, and secondly to get the most from the trip as physically possible- I was DETERMINED to learn to ski well!
Visiting with a group of incredibly experienced skiers and snowboarders from all over the world, the pressure felt pretty high! With that said, I had a word with my ego- put my pride to the side and fully embraced the experience as a beginner, eager to learn. To see more of my trip, check out my FIRST TIME LEARNING TO SKI IN JAPAN | My First Lesson YouTube (Make sure you hit subscribe if you haven’t already)
In this blog I am going to be sharing my 5 Top Tips to remain injury free on the slopes and get the most from your Ski Holiday.
I recommend these tips for skiers of all ability levels, because remaining injury free can make the difference between having the best Ski holiday of your life, and having to end it early due to injury.
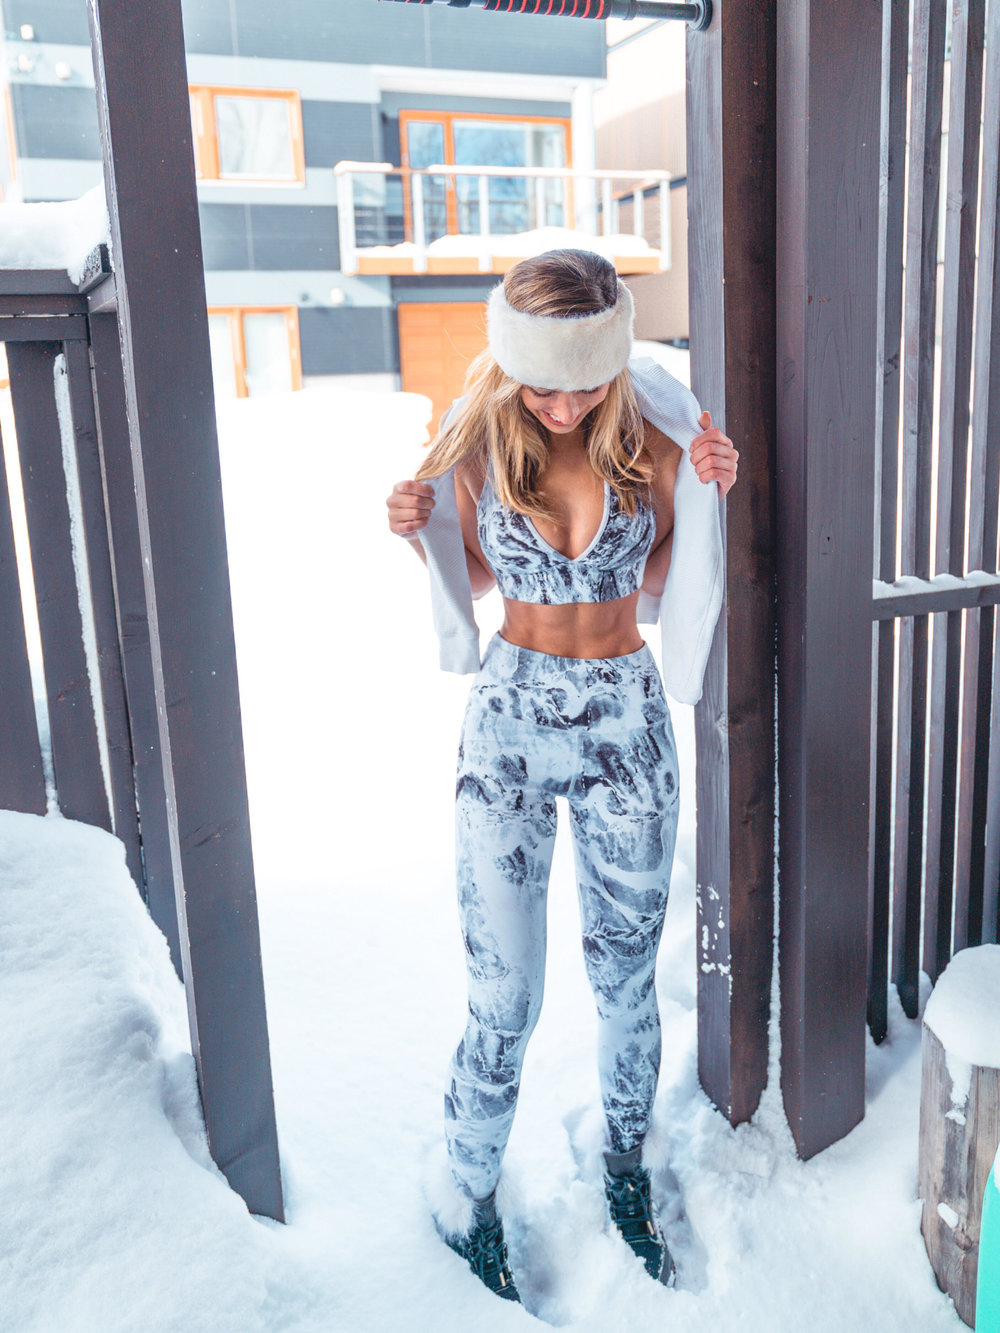
1. PREPARE YOUR CORE
Having a strong core is something I talk about- A LOT! And yes I may sound a little like a broken record, but I can’t express to you just how important it is. From the premier league footballers I used to work with, to my yummy post natal mummies, I aim to strengthen ALL of my physiotherapy patients and clients core in the same way- making it as strong as physically possible.
Why? The answer is simple, having a strong core enhances sporting physical performance, prevents injury and for those of us more vain individuals- having a strong toned core looks pretty great too!
To ensure correct ski technique you need to learn how to activate your deep core muscles. Having strong deep core muscles (tranversus abdominus) will decrease vulnerability to injury, particluarly as ski conditions become more difficult.
Correct deep core activation can take some time to master, and maintaining it throughout sporting performance can be challenging; particularly as fatigue kicks in. Check out my Get Your Dream Abs | Correct Core Activation YouTube workout tutorial. My best advice is to start by locating where your true core is, master the art of activating it correctly, then practice makes perfect. Just as you would with other muscles in your body (particularly our glutes ladies) we should be aiming to consciously engage the core muscles throughout the day. This will help strengthen the deep core. This technique, as demonstrated in my YouTube workout link above, can be completed in standing, when you’re sitting at your work desk, walking or simply waiting for the kettle to boil. Don’t forget, these tiny conscious movements add up to great results.
To challenge your core further and prepare your core for skiing, I recommend trying My 6 Pack Ab Routine | 10 mins and My Intense Core Routine | 7 mins | Physio Approach
2. IMPROVE YOUR ANKLE MOBILITY
Current research shows that the majority of serious ski related injuries are sustained to the knees, some of which are serious enough to require surgery.
Many of these injuries have been directly linked to excess pressure being placed through the knee joints, due to a lack of ankle mobility. It makes sense when you think about it, but without the correct guidance from a qualified instructor, and constant reminders for beginners, a lack of bend in the ankle joint can be enough to end your ski trip early due to serious injury.
A lack of ankle mobility can be as a result of:
1. Poor ski form.
2. Badly fitted ski boots preventing ankle dorsi- flexion (into the bent toes up position)
3. Tightness in the calf muscles
To prevent the above happening I recommend:
1. ALL BEGINNERS Please Please get ski lessons. I highly recommend some private lessons, particularly if you are brand new to the slopes. Yes it can be expensive but honestly, if you have invested in taking yourself all the way to the slopes to learn to ski, don’t cut the last corner. You will regret not having lessons, trust me. Lessons ensure that you not only stay safe, but also you learn the correct form from the word go. This will allow you to progress so much more quickly and join your friends on the slopes feeling confident, safe and ready to explore the mountain.
For those of my London based followers, I would strongly recommend visiting Chel-Ski as a beginner. I did 2 lessons at Chel-Ski before heading to the slopes in Niseko and I can’t even begin to tell you how much (as a total beginner) it helped me!
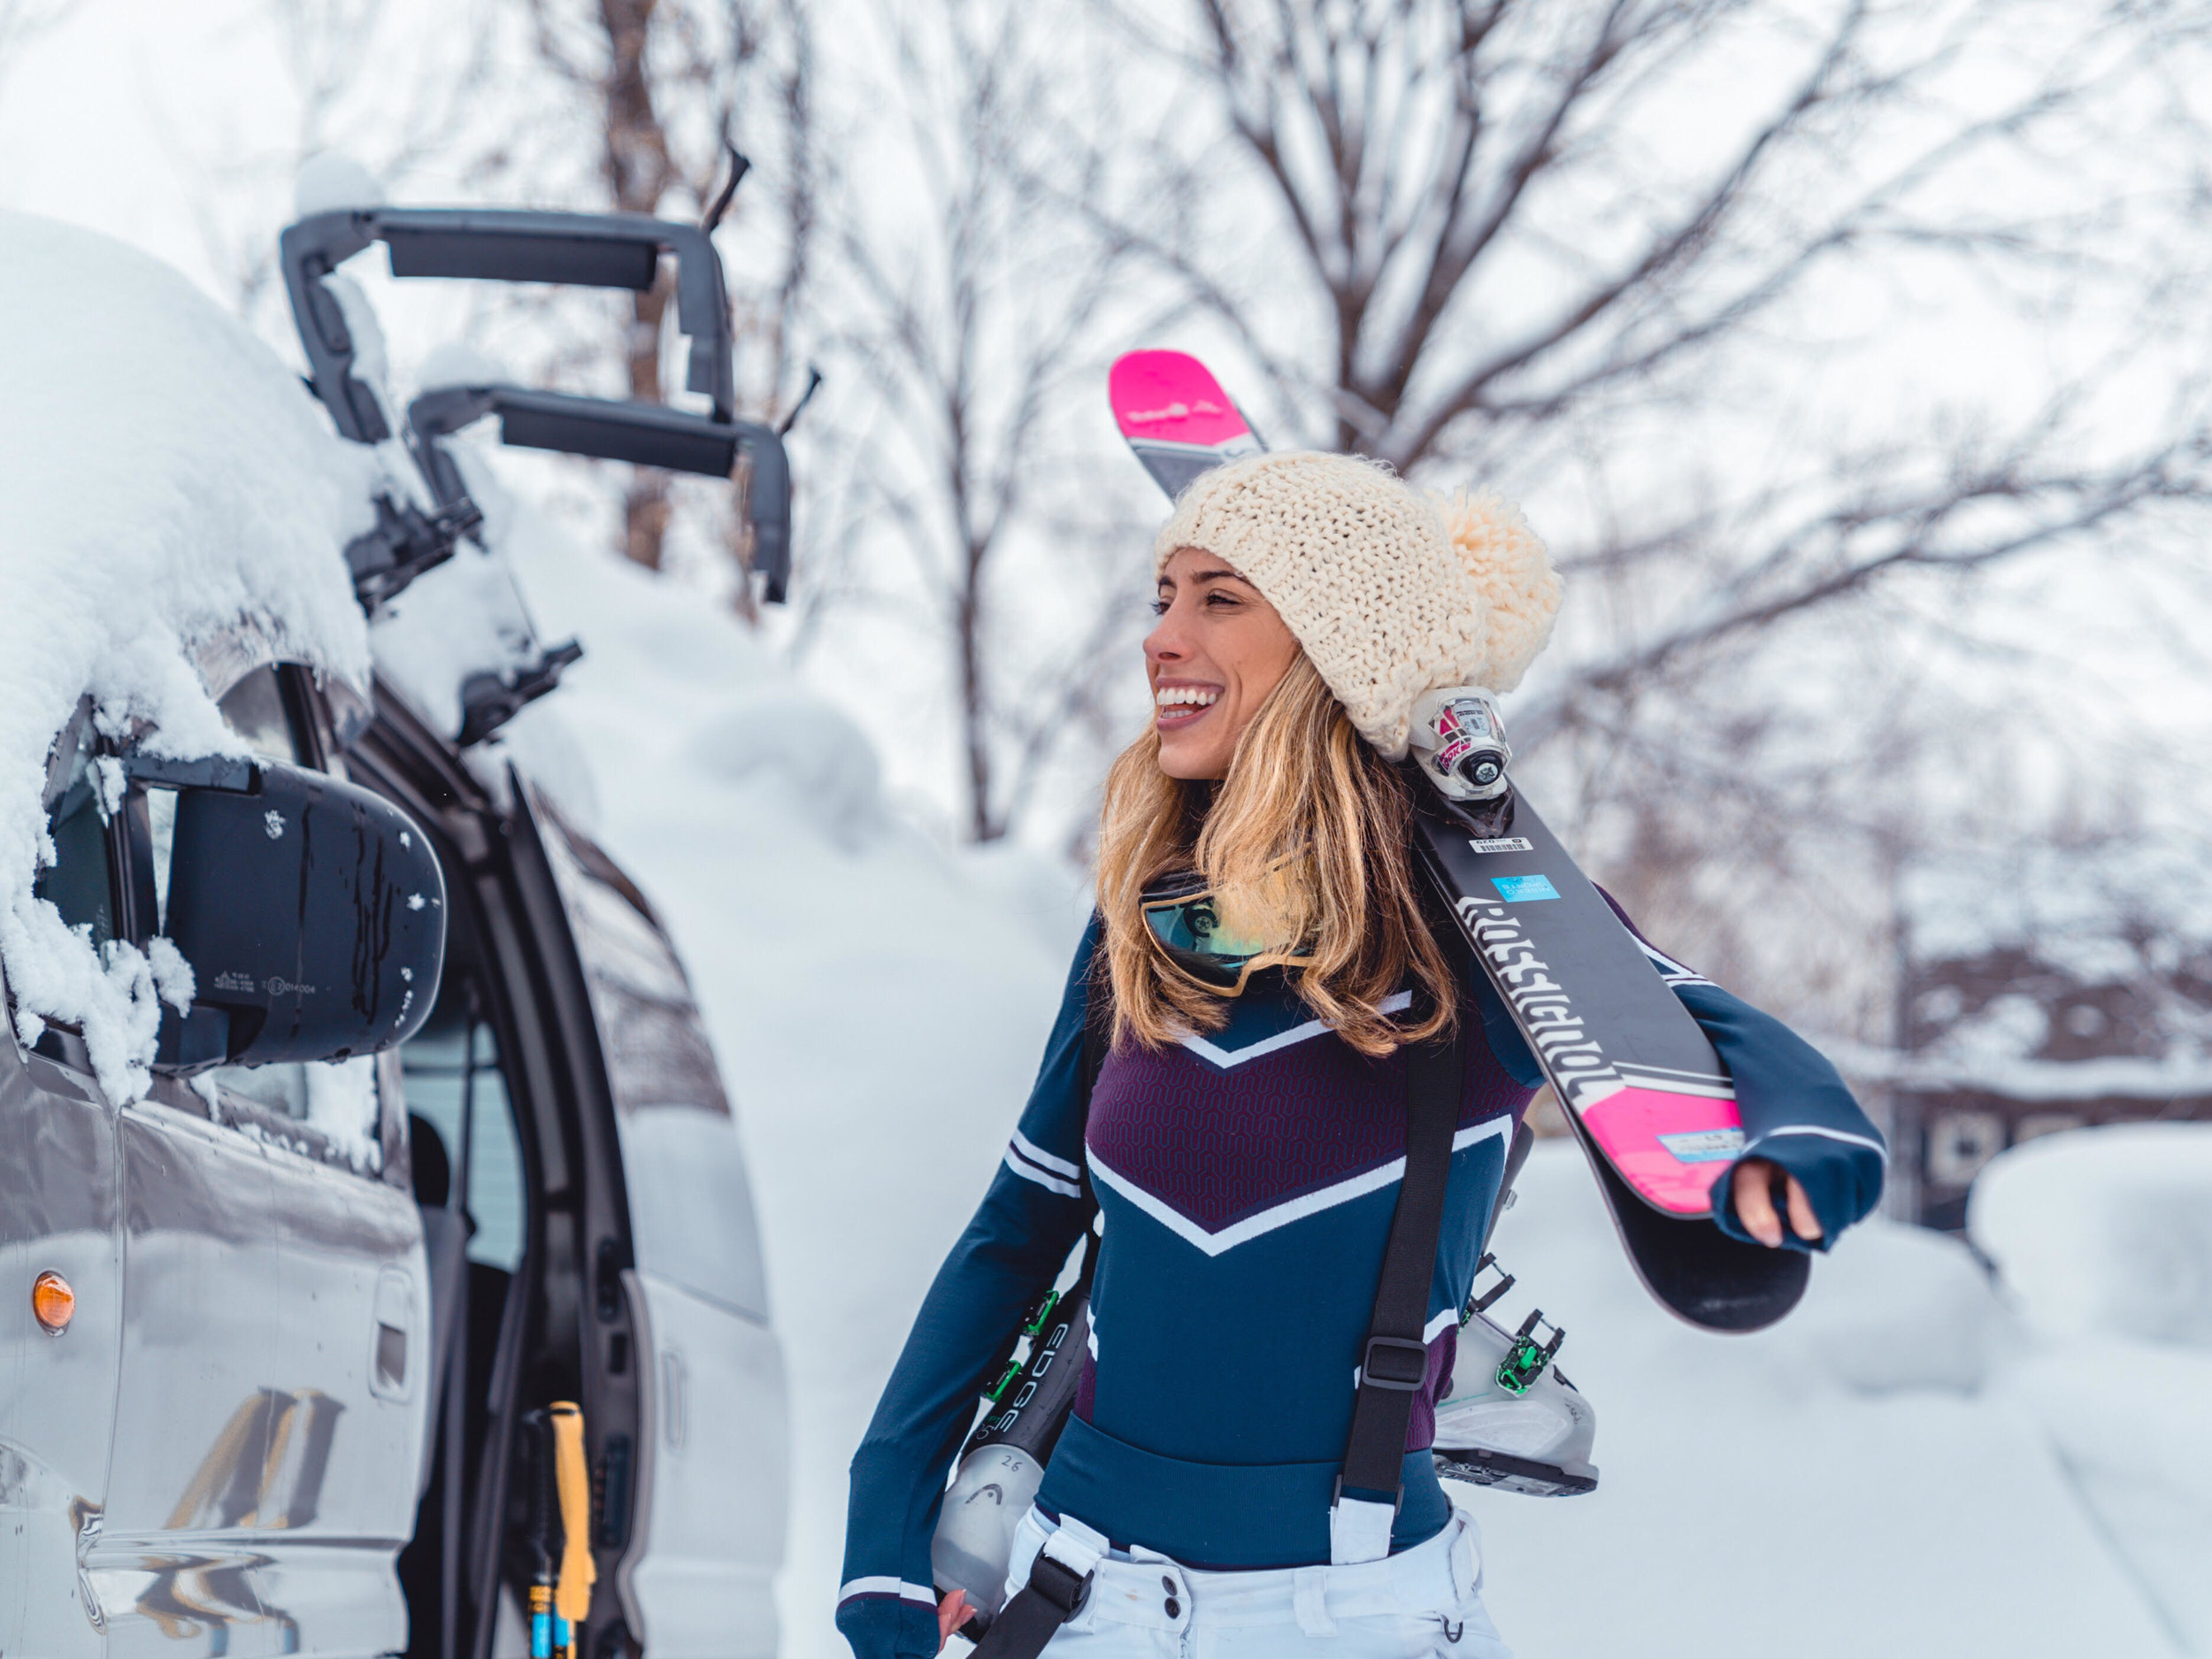
For those of you lucky people looking to visit Hokkaido (Niseko, Japan) I can’t recommend the NISS Ski School any more highly. My instructor Billy Roberts has single handedly turned me from beginner to a confident, competent, happy skier with just 5 lessons. Yes I still have so far to go to get to the level I want to get to, but I can safely say I progressed faster than all my expectations and I believe that was down to having private lessons with a great instructor.
a.Getting your boots fitted by a specialist will help maximise ankle mobility. For those of you beginners renting boots, I strong recommend spending time at the rental shop learning to fasten your boot correctly and ensure they fit well. I used Yama Plus Niseko Sports for my rentals and they were amazing.
b. Stretch out those calf muscles. Don’t forget there are 2 muscles and one tendon that make up the calf: Soleus, gastrocnemious and the Achilles tendon. Remember that all of these muscles need to be tested. A great way to test your ankle mobility is to complete the following test (and you can measure your progress as your ankle mobility increases)
Knee to wall ankle mobility test:
- Stand facing the wall and place the toes of one foot next to the wall with the knee touching the wall
- Move the foot as far away from the wall as possible, without the knee losing contact with the wall
- Measure the distance of toes to wall on both feet Less than 6cm is considered tight This will either be due to a tightness in the gastrocnemius/soleus (calf) muscles or an ankle mobility deficit. A calf stretching routine is recommended with repeated testing as above. Should the mobility not improve in 1 week, I recommend an assessment with a Chartered Physiotherapist is recommended to assess the ankle.
3. HIP FLEXIBILITY
The hip joint is a ball and socket joint, which is highly mobile with the ability to move freely through a wide range of movement.
During the ski motion, a large amount of pressure is put through the hip joints. The hip joint’s ability to both sustain and control this pressure whilst powering through turns smoothly is paramount.
Without full functional range of movement in the hips, the chances of sustaining an injury are much higher due to poor ski form.
To prevent a hip related ski injury I recommend the below:
Hip stretching/ range of movement programme
It is important to work through all ranges of motion when stretching out the hips. If you are not experienced with hip stretches, consider attending yoga classes or an assessment with a Chartered Physiotherapist
Deep tissue release/sports massage
Should the stretching programme not provide sufficient benefit, you may require myofascial or deep tissue release around the hip joints
4. CONTROL THOSE HIPS- It’s time to get those glutes FIRING!
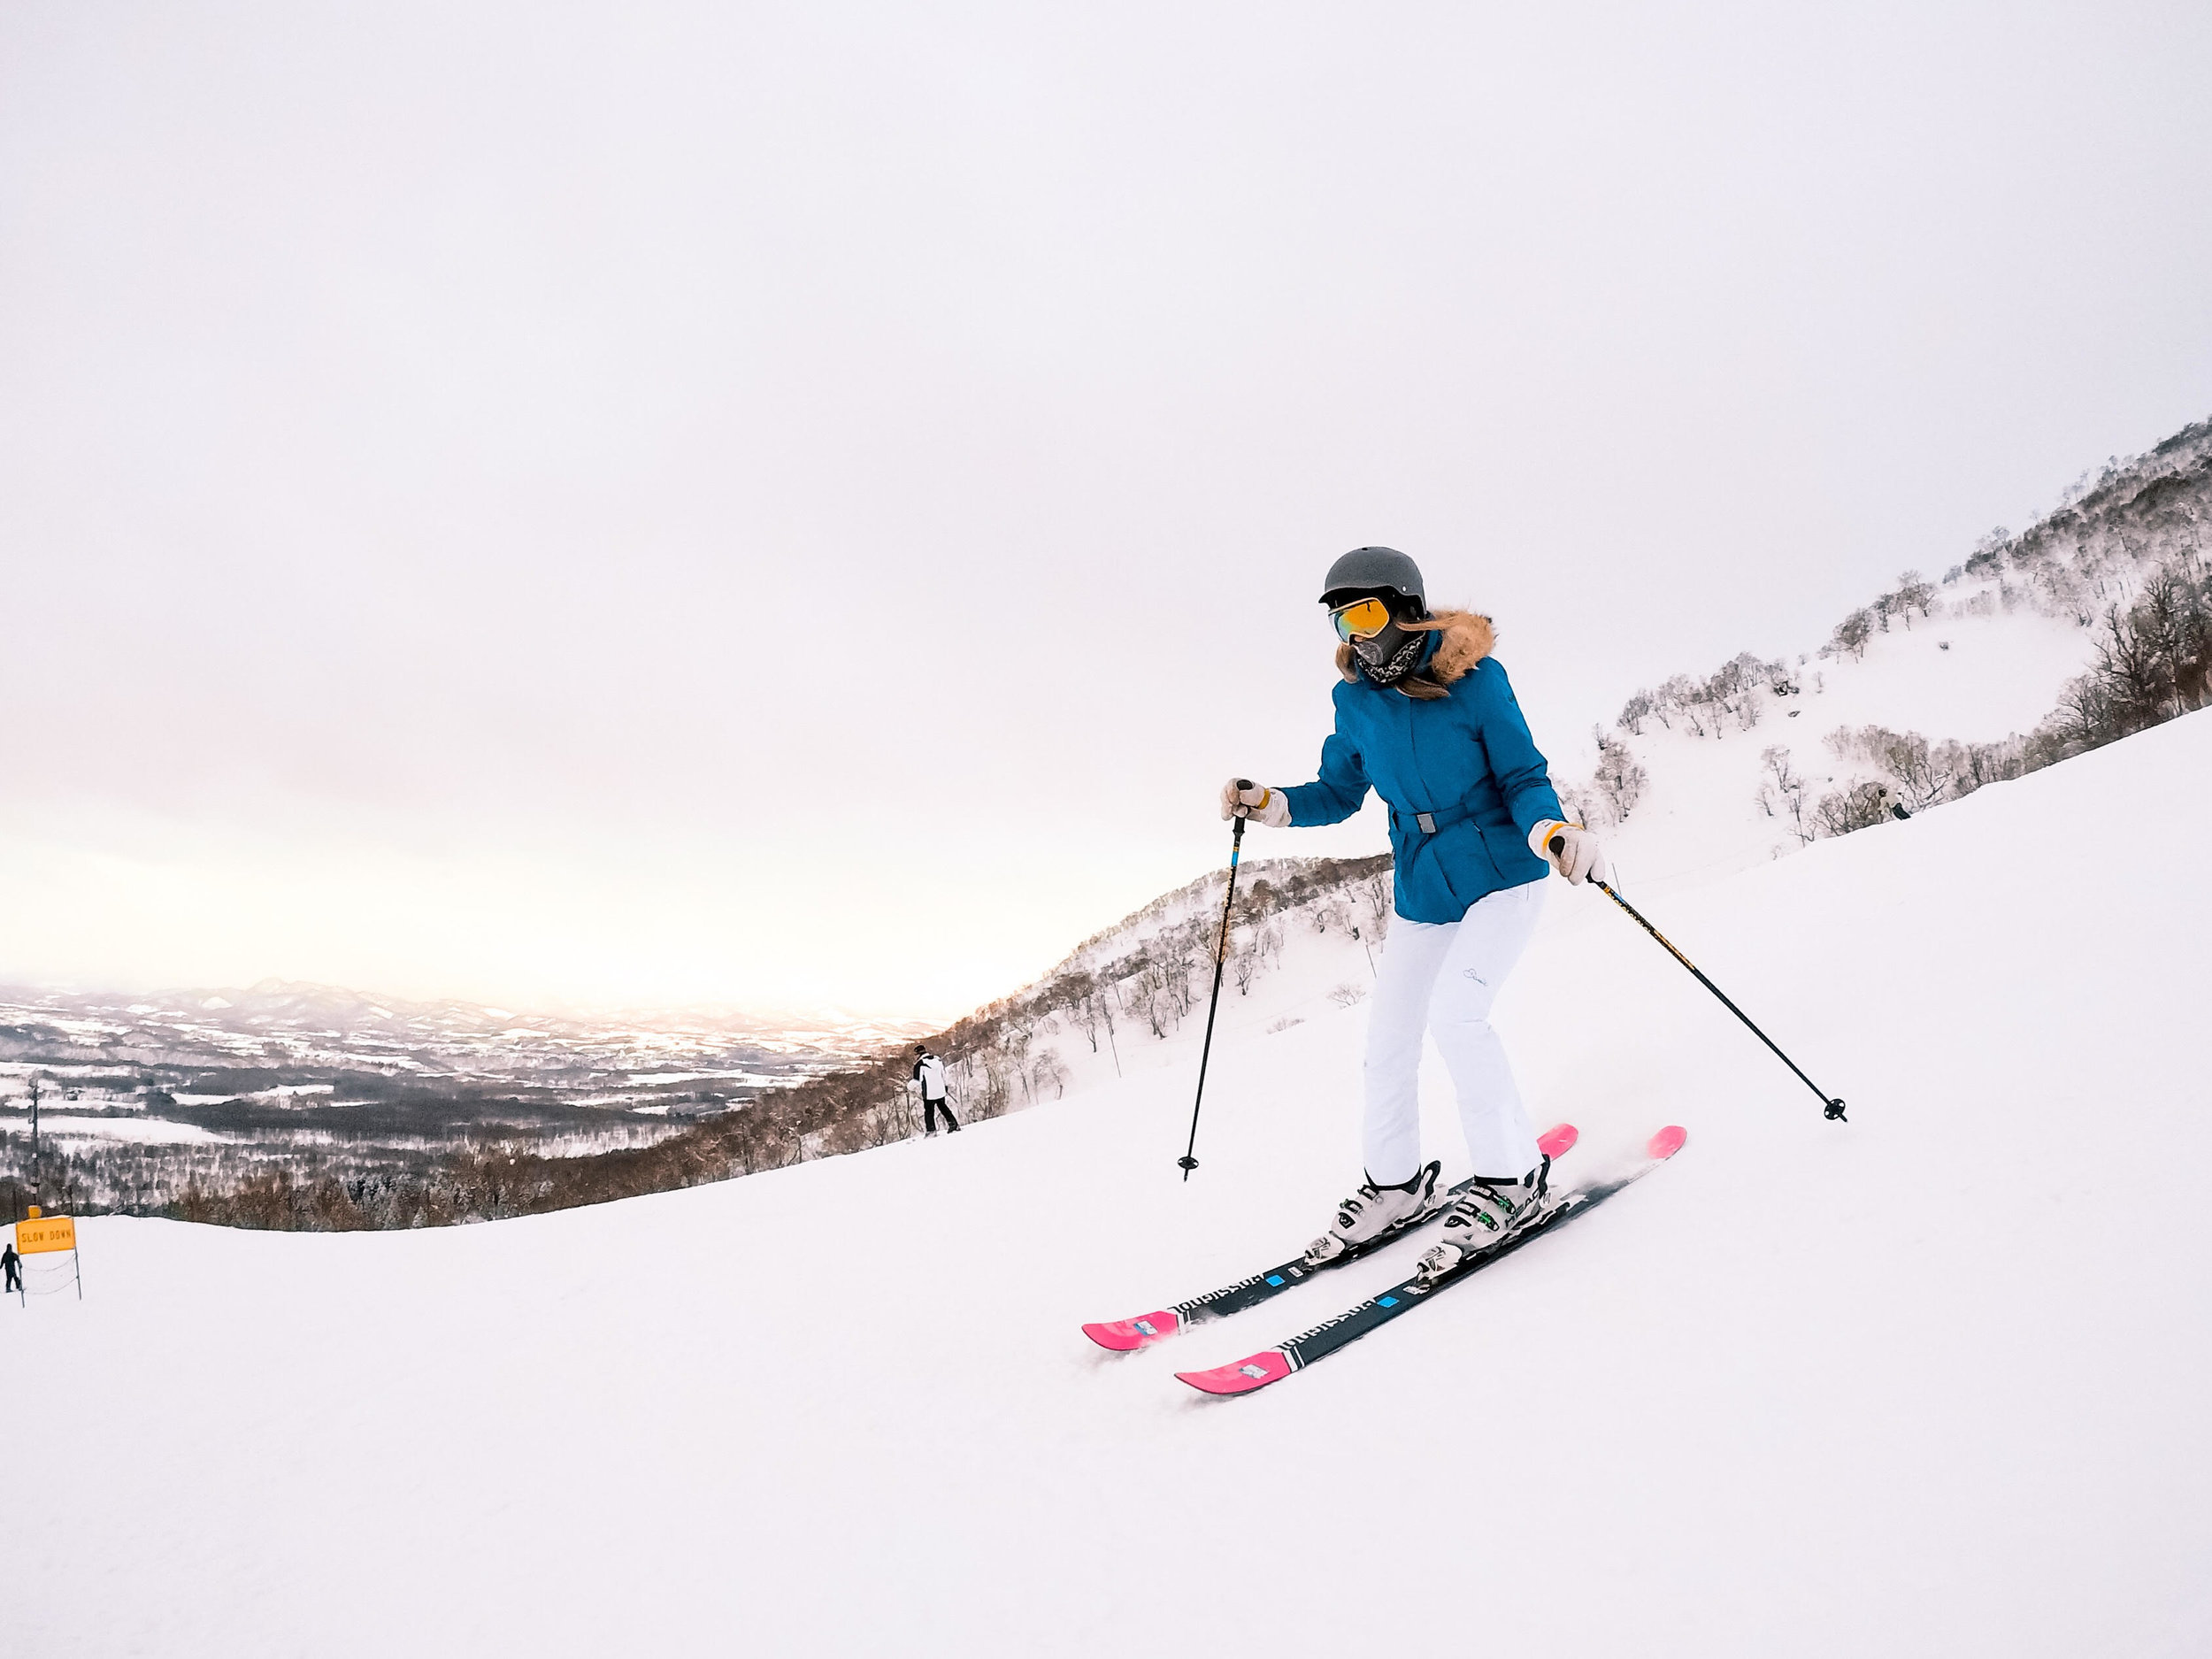
Lateral muscle activation & strength is important to ensure skier symmetry, and prevention of skiing in an A frame (otherwise know as snow plough). As a beginner you are taught to ski in snow plough to enure your safety and also to help build your confidence.
As you progress your ski ability, you will be taught to ski parallel, which for tose of you beginners out there, basically means your skis move in unison, parallel to eachother, rather than in an ‘A’ frame.
Your instructor will teach you to progress to parallel skiing, as Skiing in an ‘A’ frame not only causes inconsistency between turns due to asymmetrical skis, it also puts excess pressure on the knee joints, thus increasing chances of injury.
To prevent ski injury due to a lack of hip control, I recommend the below:
Lateral chain strengthening programme
The lateral chain includes the glute medius and minimus (outer butt muscles) and the opposing adductors of the thigh (the inner thigh muscles on the opposite leg)
To get your glutes firing correctly, I recommend trying my Booty Sculpting | Glute Activation YouTube workout
Experienced skiiers will be aware of the importance of correct knee tracking to prevent injury. For those less experienced, BEWARE of the valgus knee drop (falling in of the knees). This is one of the most common causes of knee ligamentous injuries, with a higher prevalence in women due to wider hips, increased Q- angles (angle between the hip and the knee) & diminished hip strength. Strong glute muscles and lateral chain will help prevent valgus drop and keep you safer on the slopes.
5. RECOVERY- The easy bit, ish!
So if you’re lucky enough to be visiting Niseko for your ski holiday, your recovery is simple- get yourself to an Onsen after Skiing. Giant Hot Spring baths where you can soak your muscles and chill- it’s literally heaven! If you’re not that lucky, I recommend muscle soaks. They are a great way to help manage muscle soreness and rid the body of lactic acid and toxins.Look out for soaks containing magnesium, sodium, and bromide which you can find at any good pharmacy.
Secondly, I recommend foam rolling your muscles and stretching to help your body recover and prepare for skiing the following day. If you’re unsure of what to do on the foam roller, try out BACK PAIN RELIEF | My Physio Stretch Routine
And for stretches my LEG DAY COOL DOWN STRETCHES | 3 mins
Finally, hydration and protein. Like with all exercise you need to fuel your body post workout. That includes hydration too, it’s so important to ensure you are drinking plenty of water before, during and after your days on the slopes. In terms of protein, as an Optimum Nutrition Sponsored Athlete, I travel everywhere with my Lean Whey protein sachets. I recommend the Lean Whey sachets as they are so easy to travel with, are low calorie and high in protein. All of you who follow me on social media, already know I swear by Optimum Nutrition for muscular recovery, muscular growth and toning, and it’s delicious taste.
I really hope this blog has helped you all prepare for your first or next ski trip!
A message to all my beginners- Keep at it! You are amazing for having taking on a new skill, and you should be super proud of yourselves for taking that step. You will get there I promise, and when you do, it’s going to feel bloody amazing!
Well Done & Happy Skiing
Xx Love Lilly xx
| Select Country |
|---|
| UNITED KINGDOM |
| EUROPE |
| NORTH AMERICA |
| REST OF THE WORLD |